
Record a webinar you attend in Chrome, with a transcript
Record a webinar you attend in Chrome with a transcript: share the webinar tab with its sound, test for 30 seconds, then search the text for what you need.
To record a webinar you attend in Chrome, you share the webinar's tab with its sound and let the recorder write a transcript while it runs. Cheap Recorder does both in Chrome on macOS, Windows and Linux, and the files stay on your own computer. This post covers the permission check, the steps, a worked example and the fixes for the usual problems.
Why record a webinar you attend
Webinars move fast. A speaker shows a slide for ten seconds, says the one thing you needed, and moves on. A recording lets you go back to it. A transcript lets you find it by searching, without scrubbing through an hour of video.
It also helps a colleague who could not come, and it gives you the exact words when you want to quote a figure.
Check the rules before you press record
Do this first. Recording a call may need everyone's agreement, depending on where you and they are, so tell people you are recording when it applies.
- Read the invitation and the sign-up page. Many hosts say whether recording is allowed or whether they will send a replay.
- Ask if it is unclear. A short email to the host settles it.
- Keep it for yourself. A recording for your own study is not the same as posting it. Do not share it without permission.
If the host says no, do not record. Take notes instead.
What you need
- Google Chrome. The webinar has to play in a Chrome tab, because that is the only way Chrome can hand over its sound. Sound from other programs cannot be recorded this way.
- A Cheap Recorder account. The Free plan includes recording, the live transcript and captions, with 12 hours of recording a month on 1 device and no card needed.
- A folder on your computer. You pick it each visit under Where to save.
- An internet connection. There is no offline mode, and the live transcript needs a connection too.
Record a webinar you attend in Chrome, step by step
Open the webinar in one Chrome tab and the recorder in another.
- Choose a folder. Under Where to save, press Choose folder... and pick one. Chrome asks whether the page may edit files in that folder. Allow it.
- Name the recording. Type something like
Pricing webinarin Name this recording. Left empty, it is called Recording. - Pick the tab. Under What to capture, choose A browser tab. In Chrome's sharing window pick the webinar tab, tick the tab-audio option (Share tab audio, or Also share tab audio in some Chrome versions), and press Share.
- Leave the webcam off unless you want your own face in the file. Switch Record my webcam off.
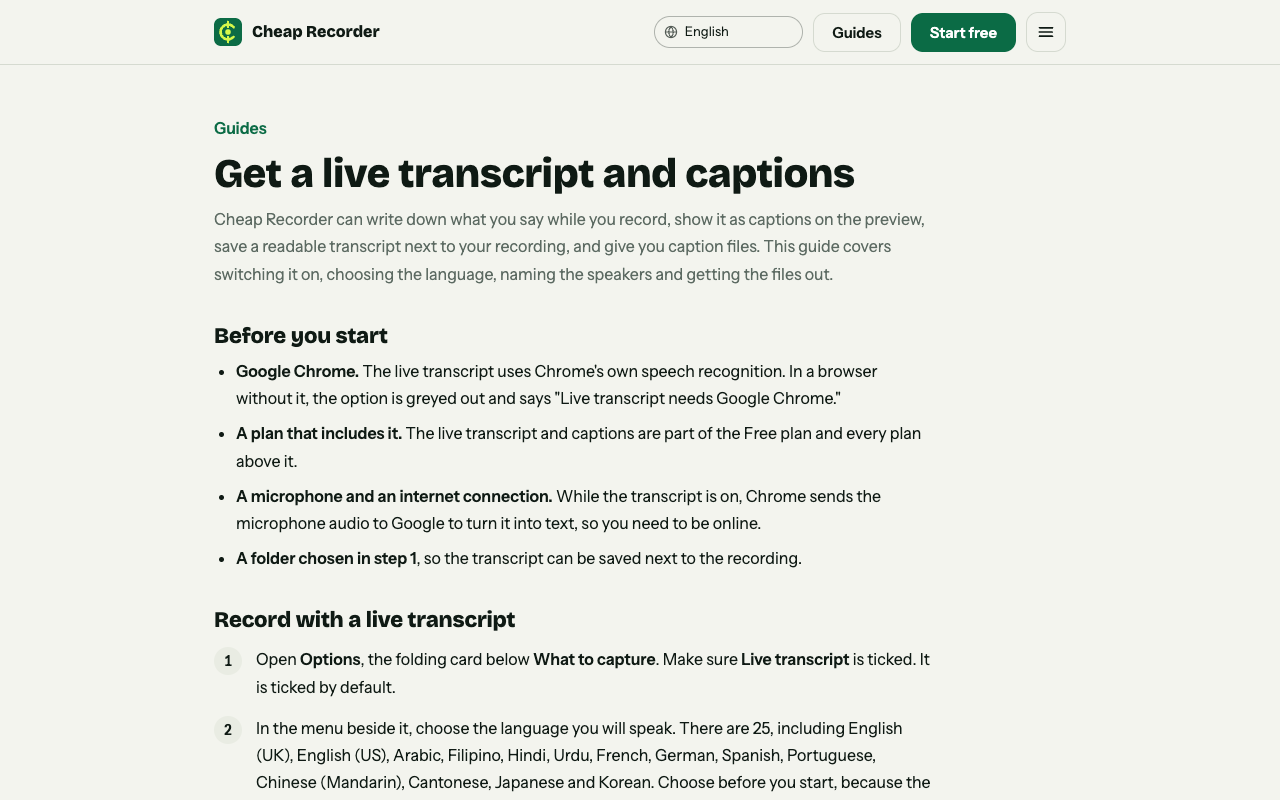
- Check Live transcript. Under Options it is ticked by default. Pick the language before you start. The menu lists 25 languages and goes back to its default each time the recorder opens.
- Record 30 seconds first and play it back. It catches a muted tab or the wrong microphone.
- Press Start recording when the note beside it reads ready to record. Keep the webinar tab open the whole time, or Chrome stops sharing its sound.
- Press Stop and finish at the end. Do not use Chrome's own Stop sharing bar. The recording shows up on the page with a player and is already in your folder.
Sharing a single tab keeps your other tabs, your mail and anything private out of the file.

Get the transcript of a webinar you recorded
With Live transcript ticked, the text builds while you record. The recording's folder holds a plain-text file named like Pricing webinar - transcript.txt, with the time of each line. It opens in any text editor.
The card on the page also offers Captions .srt and Transcript. Those two are not saved in the folder, so download them while the recorder page is open.
Each line starts with a label for the loudest sound at that moment: your microphone's name, or Screen for sound from the tab you are filming. Above the transcript there is one Speaker box per label. Type the presenter's name in the right box, press Save captions, and the lines start with that name. The guide to live transcript and captions shows the boxes.
Two things to know:
- Chrome makes the text. The transcript comes from what Chrome hears on your microphone, and while it runs Chrome sends that audio to Google to turn it into text. If a recording must not leave your computer in any form, untick Live transcript before you press Start recording.
- You cannot add it later. If Live transcript was off, that recording will not get a transcript afterwards.
A worked example: a 45-minute pricing webinar
Say you attend a webinar on a vendor's new pricing (an example, with made-up times). You want two things afterwards: the date prices change, and the answer to a question from the audience.
- Before the start, you open the webinar tab and the recorder. You pick a folder called Webinars and name the recording
Pricing webinar. - You share the webinar tab with its sound, switch the webcam off and record a 30-second test while the host's intro plays. You play it back. The sound is there.
- You record the whole session and press Stop and finish.
- You open
Pricing webinar - transcript.txtand search for "price". One hit, at 00:31:40, names a date. - You drag the player to that time and listen once. The transcript had one word wrong. You note the date from what you heard, not what you read.
- You search for the audience question the same way, copy the host's answer and paste it into your notes with the time next to it.
The search took two minutes. The listening check took one. That check is the habit to keep: speech recognition makes mistakes, mostly with names and jargon, so before you quote a person or a number, listen to that moment.
If you want to fix a wrong word in the .srt file, open it in a text editor and change the words only. Keep the numbers and the time lines as they are. The caption times are per line, not per word, so do not rely on them for frame-exact subtitles.
For a way to pass a recording and its notes to a team, see the post on recording a weekly team update.
Fix the usual problems
The recording has no sound
The tab-audio option was not ticked. Pick the tab again and tick it. A shared window has no sound, and on a Mac a whole-screen share has none either. The no sound guide goes through the rest.
The presenter's voice is doubled
If you film the tab with its tab audio and also pick the same tab under Call audio, the voices go in twice. Tick tab audio in one place only.
The transcript misses the presenter
The transcript comes from what Chrome hears on your microphone, so test it in your 30 seconds and read the first lines. If the presenter's words are missing, the sound is still in the MP4, so you can listen and take notes from it.
Start recording is greyed out
Read the note beside the button. It gives one reason at a time, such as choose a folder first. Fix it and read the note again, because fixing one reason can bring up the next.
The recording stopped early
Either the month's recorded minutes ran out, or Chrome's Stop sharing bar was pressed. Open your name at the top right to see how many minutes are left.
You missed the start
A recording cannot capture what already happened. Start it as you join. If the host sends a replay, you can record that instead.
Frequently asked questions
Can I record a webinar I attend in Chrome?
If the webinar plays in a Chrome tab, yes. Whether you are allowed depends on the host and where you are, so read the invitation or ask first.
Does Cheap Recorder upload my webinar recording?
No. The recording is written to a folder you pick on your own computer. Only Convert and Download MP3 send a file to the server, and it is deleted there as soon as it is converted.
How do I get a transcript of the webinar?
Leave Live transcript ticked under Options before you start. Afterwards, open the transcript file in the recording's folder, or download Captions .srt or Transcript from the card.
Is the Free plan enough for webinars?
The Free plan includes recording, the live transcript and captions, with 12 hours of recording a month on 1 device. For the paid plans, see what Cheap Recorder costs over five years.
Does it work on Mac, Windows and Linux?
Yes, in Google Chrome. Recording, transcript, captions and export work the same on all three.
Get started
Open the recorder, choose a folder, share the webinar tab with its sound and keep Live transcript ticked. Start on the Free plan. No card is needed. If you are comparing recorders first, read the comparison post.
The free plan needs no card. Try Cheap Recorder in Chrome, and your recordings stay on your own disk.