
Product update video: record one in Chrome, with a transcript
Plan a product update video of one to three changes, record your screen and voice in Chrome, and send the MP4 with its transcript. A worked example and steps.
You shipped something new. Now your customers need to know. A product update video is a short recording that shows your customers what changed. You can make one in Chrome in one sitting, with your screen, your voice and a transcript saved to your own computer. This post shows you how to plan it, record it and send it.
Why a short product update video beats a long changelog
A changelog is a list. It is useful for people who already know what they are looking for. Most customers do not read it line by line.
A short video shows the change in use. Your customer sees where the button is, what happens when you press it and why it helps. That takes a minute or two, and it answers the question they would otherwise send to support.
Keep the changelog as the record. Use the video as the introduction to what changed.
What to include in a customer product update video
Pick one to three changes. More than that and people remember none of them. Group the rest in one sentence at the end, with a pointer to your changelog.
For each change, cover four things:
- What is new. One sentence, in the customer's words, not your internal project name.
- Who it is for. Say which customers will care.
- How to use it. Show the screen, click through it once, slowly.
- What to do next. Tell them where to find it or what to try today.
If you are walking someone through a larger area of your product, a different format fits better. See how to record a product walkthrough for a new teammate.

Write a simple script before you hit record
You do not need a word-for-word script. You need a short outline you can glance at. Here is a worked example for a made-up update:
Hi, this is Priya from the product team. Two things changed this month. First, you can now filter your reports by team. Second, exports include a date column. I will show both, then tell you where to send feedback.
Then one line per section:
- Open Reports. Click the new Team filter. Pick a team. Show the result.
- Run an export. Open the file. Point at the date column.
- Say where feedback goes.
Read it aloud once. If a sentence is hard to say, shorten it. Aim for under three minutes in total.
How to record a product update video in Chrome with Cheap Recorder
Cheap Recorder runs in Google Chrome on macOS, Windows and Linux. Nothing to install. The steps below work on the Free plan.
1. Choose where the files go
Open the recorder and press Choose folder... under Where to save. Chrome asks whether the page may edit files in that folder. Allow it. Until you choose a folder, Start recording stays greyed out and the note beside it says why. Your recording is written there about once a second while you record, so a long take does not fill your computer's memory.
2. Name the recording
Type a name in Name this recording, for example Product update October. The name is used for the file and its folder, and the folder also gets the date and time. That keeps a series of update videos in order.
3. Pick what to show
Under What to capture, choose a whole screen, a window or a browser tab. Chrome opens its own sharing box. Pick one and press Share. Sharing a single window or tab keeps your other tabs, apps and private things out of the video. Anything on the shared screen ends up in the file, so close what you do not need and silence notifications first.
4. Decide on your face
Switch Record my webcam on if you want to appear. The default layout is picture in picture, bottom right. Drag the camera where you want it and use the Size slider to set it. The preview is the recording, so what you see is what you get. If you would rather keep it to screen and voice, use the Screen only layout or leave the webcam off. For more on layouts, see the screen and webcam guide.
5. Check your microphone
In the Microphone tile, tick the microphone you speak into. Each ticked microphone has a level bar that moves with your voice. If it stays still while you talk, you have ticked the wrong microphone, so tick another and speak again.
6. Keep the transcript on
Under Options, Live transcript is ticked by default. Check the language menu beside it before you start. It lists 25 languages and goes back to its default each time the page opens. A transcript cannot be added afterwards if it was off. Chrome sends your microphone audio to Google to turn it into text, so untick it if the recording must not leave your computer in any form.
7. Record a test, then the real one
Record 30 seconds and play it back. This catches a wrong microphone or a muted tab. Then press Start recording. When you are done, press Stop and finish. Do not use Chrome's own Stop sharing bar for this. The recording is already saved in your folder and appears on the page with a player.
Tips for a clear, tight recording in one take
- Prepare the screen first. Open the exact page you will show, with sample data you are happy to be seen.
- Move slowly. Viewers need a second to find where your cursor lands.
- Say what you are about to click. "Now I open Reports" helps people who look away.
- Use markers. Press
Mor Add marker at the start of each change. A short note confirms the time. Markers are saved to files only if you tick Also save every source separately before recording, so jot down times if you use the default single MP4. - Do not stop for small slips. Pause, say the line again and carry on. In a one-file recording the MP4 keeps the slip, so restart if you lose the thread.
The same one-take habit is covered in voiceover for a screen recording.
Share the video and its transcript with your customers
After you press Stop and finish, the card gives you Download MP4. If the live transcript heard speech, you also get Captions .srt and Transcript. The captions file is made in the page and is not saved in your folder, so download it while the recorder page is open. The transcript text file is saved in the folder beside the MP4.
Before you send anything, open the Transcript fold. You can rename the Speaker boxes, so lines start with "Priya:" instead of a microphone's model name. Press Save captions and download again. Captions are not drawn into the video, so a wrong word in the .srt can be fixed in a text editor before anyone sees it.
If you said "um" a lot, use Remove filler words on plans that include it. In a normal one-file recording, this changes the transcript and captions, not the MP4. Watch the result before you share it.
Send a page, not just a file
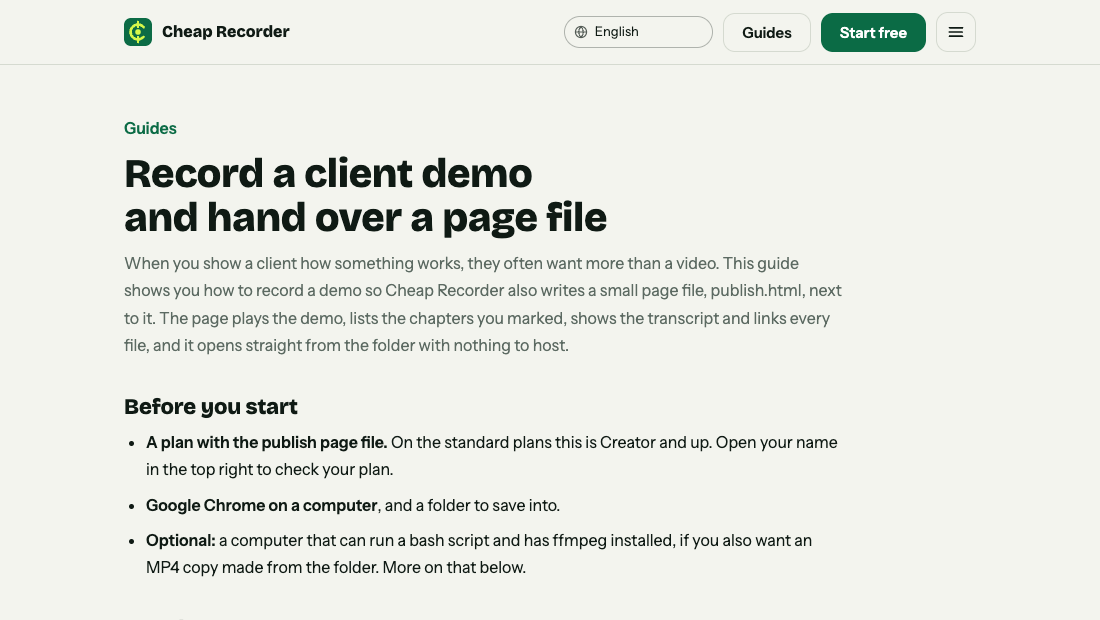
On Creator and up, you can hand over a publish page. Tick Also save every source separately before recording. The recording's Separate sources folder then holds publish.html, which shows a player, chapters (one per marker) and the transcript with times. It opens from the folder with nothing to host. Zip and send the whole recording folder, not only the page. Clicking a chapter's time jumps the player to that moment, which suits an update with several changes. The client demo guide has the details.
Where to publish and reuse your product update videos
The MP4 is an ordinary file that plays almost anywhere. A few places it works well:
- A link in your release email, with the transcript pasted below for people who prefer to read.
- Your help centre or changelog page, next to the written entry.
- A message to a single account that asked for the feature. For that kind of note, see a follow-up video for a prospect after a sales call.
- Your internal team channel, as in a weekly team update.
Need a different format? Cheap Recorder can convert a recording to MP4, MOV, WebM, GIF, MP3, M4A or WAV. A GIF is silent, loops, and suits only a few seconds, such as one click in a help article. Convert and Download MP3 send the file to the Cheap Recorder server, which deletes its copy as soon as it finishes. Your original is never changed. The card and Convert last only while the recorder page is open.
Frequently asked questions
How long should a product update video be?
Aim for under three minutes, covering one to three changes. If you have more, mention the rest in one sentence and point to your changelog.
Do I need editing software?
No. You press Stop and finish and the MP4 is already in your folder. Cheap Recorder has no timeline editor, so plan the video to work in one take.
Does the Free plan work for this?
Yes. The Free plan includes recording, live transcript and captions, 12 hours of recording a month and 1 device, with no card needed. Publish pages are on Creator and up.
Are my recordings uploaded?
No. They are written to a folder you choose on your own computer. The exceptions are Convert and Download MP3, which send the file to the server for conversion and are deleted there afterwards.
Can I cut mistakes out of the video?
In a normal one-file recording, cuts change the transcript and captions, not the MP4. For a cut video, tick Also save every source separately before recording and run bash finalise.sh with ffmpeg installed. It makes demo.mp4 with your cuts applied.
Get started
Pick one change from your last release, write three lines of outline and record it. The free plan needs no card, and you can compare costs in the five-year cost breakdown if you plan to use it often.
Start recording on the free plan, and your files stay on your own disk.